

Percify Avatar Studio: your reusable cast.
What you need
- A computer. Avatars live in the desktop web app at app.percify.io/home/avatars, under Avatars in the sidebar.
- A face: one of the library avatars, or a clear, front-facing photo of your own.
- Audio for the avatar to say: a recording made in the browser (5 to 60 seconds), an uploaded audio file up to 10 MB, or a voice you saved earlier.
- Enough credits for the length of the audio (see below).
Start from the avatar library
The Overview tab on the Avatars page is a wall of ready-made faces for common jobs. Hover over one and click Use this to start with that face, or click Create New to start with your own photo.
Home UGC creator

Author in the library

Business coach
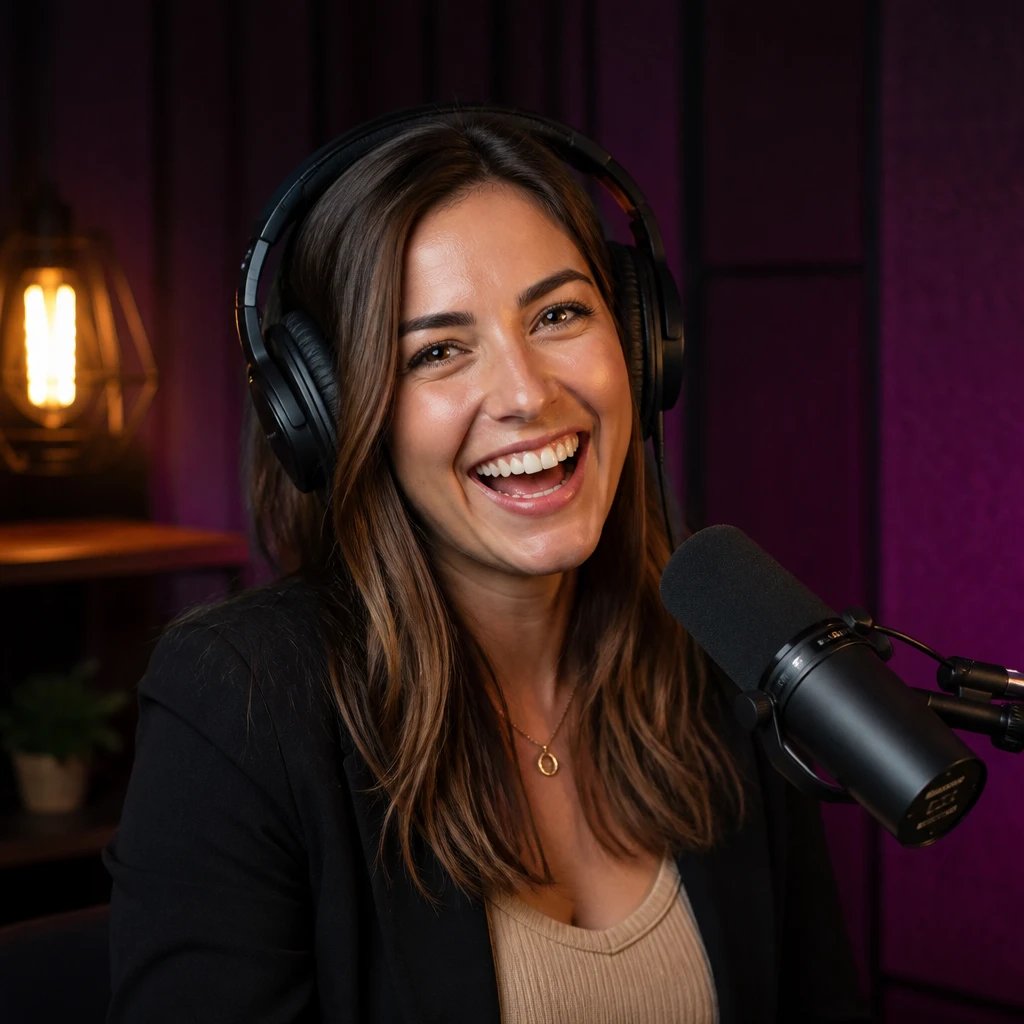
Podcast host

Real estate agent

Healthcare professional
How to make a talking avatar
1
Pick the face
On Avatars, click Use this on a library avatar, or click Create New. On the Create Avatar screen, the Visual tab lets you Tap to upload a photo (or drop one) or Use camera.
2
Add the voice
Open the Voice tab. Under Record, tap to record yourself or click Upload Audio. Under My Voices, pick audio you saved before. The button changes from Add a photo to Add a voice to Generate as each part is ready. Click Generate.
3
Choose mode and quality
On Create Talking Avatar, select the audio under Record or My Voices (a recording you just made is saved to My Voices). Choose Mode: Fast (quicker, cheaper, 480p) or High (sharper, slower). With High you can pick 480p or 720p under Quality.
4
Generate the video
Check Estimated cost, which shows the rate times the audio length, then click Generate video. You can leave the page: generation continues and the video is saved. When it is ready, click Download.
How much does it cost?
The charge is the per-second rate times the length of the audio, measured on the server and rounded up to a whole second.
If your balance is too low, the button reads Not Enough Credits and nothing is charged. See how credits work. If a video fails, see refunds.
Limits
Tips
- Use a sharp, front-facing portrait with good lighting.
- Record clear audio without background noise, at a natural pace. The generator’s own tip: 5 to 60 seconds works best.
- Start on Fast to check the result, then switch to High and 720p for the version you publish.
- If the estimate reads “Estimating cost…”, the audio length is still loading. Wait a moment before generating.
Related
Create your AI twin
The same talking video, starting from your own photo or camera.
Clone your voice
Make the avatar speak in your own voice.
Lip-sync any audio
Audio options, modes and how lip-sync is priced.
Upload failed
Fixes for photos and audio that will not upload.